

10" Combination Saw Blades
10" Super General Combination Saw Blades
Dadonator XL, 8" Stacked Dado Saw Blade Set
Ripping and cross-cutting on a table saw are still best done with dedicated blades, but if you're looking for one premium quality saw blade that performs very well in both operations with very little sacrifice, you've found it!
The Infinity Tools Super-General Table Saw Blades deliver precision cuts that are glass-smooth to the touch and feel. Upgrade your table saw with our award-winning woodworking blades and enjoy the highest quality rips and crosscuts in your shop.
This Dado set produces the same clean, flat bottom cuts woodworkers love about our standard Dadonator, but with exciting new innovations. The Dadonator XL is designed to comply with SawStop table saw specifications. It also has two full 1/4" chippers which allow exacting 3/4" cuts using only four blades!

If you’re just getting started in woodworking, it can be overwhelming to choose which tablesaw blades are right for you. Here are three blades that’ll let you build just about anything, including cabinet doors and drawer fronts. Check out these three blade types and learn the strengths of each.

A 40 tooth general purpose blade, like this Infinity Super General is a jack of all trades. If you’re the type of woodworker to put one blade on the saw, and leave it there … the Super General 40 tooth is the blade for you. The high ATB carbide teeth make excellent cuts in solid wood and plywood alike.

A thin kerf blade is certainly recommended for any saw 2hp or less, but I tend to prefer thin kerf blades, even on a large cabinet saw. Make sure to use a riving knife slightly thinner than your blade, and rip and crosscut all the parts for this cabinet re-facing project.

Forty teeth seems to be the sweet spot for a general purpose blade, because it makes clean rip cuts, as well as crisp splinter-free crosscuts. That’s something a 24 tooth dedicated ripping blade can’t do.

The second blade needed for building mission style cabinet doors is a 50 tooth combination blade. We’ll use this 50 tooth Combo-Max, available in thin kerf or standard kerf models, to cut a ¼” wide groove in all the cabinet door parts. The teeth feature both ATB and chamfered raker teeth for a flat bottom groove.

If you cut the ½” deep channel in two passes, flipping the workpiece 180 degrees between passes, you’ll ensure a perfectly centered groove.

A dado blade is the joinery workhorse in my shop, and the variety of cuts you can accomplish is truly remarkable. For this project, we’ll use a dado blade to cut tenons and rabbets for the cabinet doors. The Dadonator XL lets you install a full 3/4” dado stack with just four blades, thanks to the pair of ¼” wide chippers, sporting 6 teeth each.

If any joint is the “bread and butter” of furniture and cabinetry, it must be the mortise and tenon. Use a miter gauge with sacrificial fence to batch out 1” long tenons on all the cabinet door rails. Raise the blade until the tenon fits the groove.

Cut 1”deep mortises in the stiles, making sure to stay ½” away from the ends of the workpiece. The ¼” wide groove is a perfect guide when setting your mortising machine.

Clamp a sacrificial fence onto the rip fence of your tablesaw, and turn the rails on edge to haunch the tenons. This simply allows the parts to fit together, and makes an extremely solid cabinet door that will stand up to decades of use.

With the same dado blade setup, rabbet the cabinet door panels. Start with the end grain side, then rotate the panel, so any chipout will naturally be removed as you make the long grain pass.

Check that the parts fit well, before permanently assembling the cabinet doors. The panel should fit into the groove without too much effort, because you’ll need to center the panel in the frame, once it’s assembled.

With solid panels, use glue only at the center (top and bottom) to allow seasonal movement. If these were plywood panels, they could be glued on all sides. Start by slipping the rails in place over the panel, then add the stiles.

With multi-panel doors, work from the inside-out. First slip the panels into the center divider, then add the top and bottom rails. Finally, add the stiles and clamp the door to draw the joints tight.

Once the cabinet doors are assembled, use a quality straightedge to check for flatness. Adding clamps on top and bottom helps to keep the assembly flat and true.
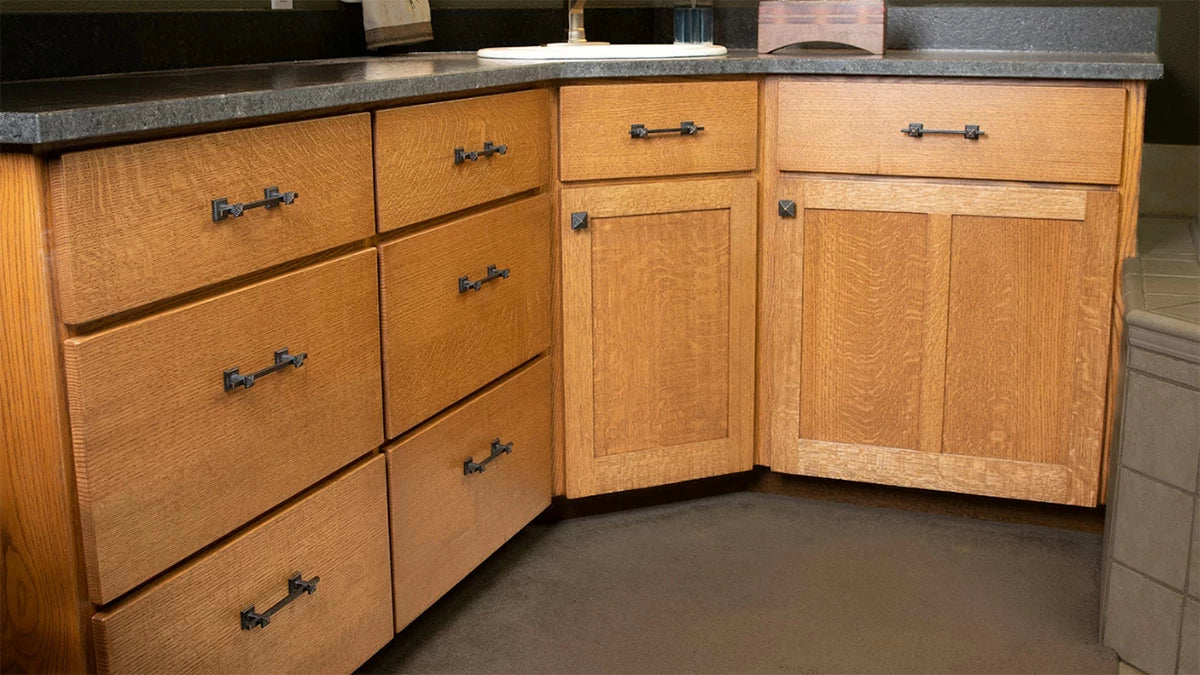
By simply re-facing the cabinet with new doors and simple slab drawer fronts, you can achieve an entirely new look for a fraction of the cost. And all it takes is three tablesaw blades. The good news is this… these are the same three blades that can handle just about any task you can dream up in the shop!
